Quick Answer: How to Make a Bootable USB
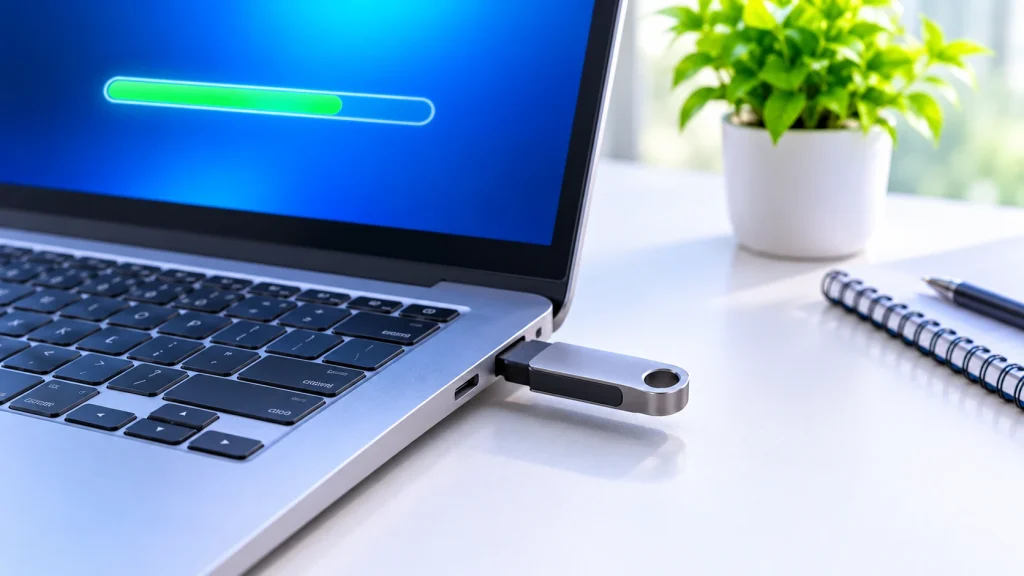
A bootable USB drive is a flash drive that your computer can start from, so you can install or repair an operating system. To make one you need three things: a USB drive, an ISO file (or an installer app) for the operating system, and a tool that writes it to the drive.
Warning: creating the drive erases everything on it. Microsoft says any content on the drive is deleted, and Apple says the drive “will automatically be erased.” Back up your files first.
What you need
- A USB flash drive. At least 8 GB for Windows (Microsoft’s requirement). Apple says a 32 GB drive fits any macOS installer, and 16 GB is enough for most earlier versions. A 4 GB drive is enough for a typical Ubuntu live USB, per It’s FOSS.
- The OS image. An ISO file for Windows or Linux, or the “Install macOS” app for a Mac.
- A working computer with internet access to download the tools and files.
Which tool should you use?
| What you want | Best tool | Works on |
|---|---|---|
| Windows 11 or 10 install USB (official) | Microsoft Media Creation Tool | Windows |
| Windows or Linux USB with more control | Rufus | Windows only |
| Linux USB, simple | balenaEtcher | Windows, Mac, Linux |
| macOS installer USB | createinstallmedia in Terminal | Mac |
| One USB with several ISOs | Ventoy | Windows, Linux |
Make a Bootable USB on Windows with Rufus
Rufus is a free, open-source Windows utility for writing ISO files to USB drives, and it works with both UEFI and BIOS systems. It runs without installation. Here are the steps, based on the Windows Central guide for Windows 11.
- Download your ISO. For Windows, get it from Microsoft’s website. Keep the ISO on your internal drive, not on the USB stick you are about to erase.
- Plug in the USB drive (8 GB or larger) and open Rufus.
- Under Device, pick your USB drive. Double-check it, because this drive will be wiped.
- Under Boot selection, click Select and choose your ISO file.
- Set the options. For a modern PC, Windows Central uses: Image option Standard Windows Installation, Partition scheme GPT, Target system UEFI (non CSM). Leave file system and cluster size at their defaults. Rufus normally fills these in for you after you pick the ISO.
- Click Start, confirm the warning that the drive will be erased, and wait until the progress bar says Ready.
- Close Rufus and eject the drive.
GPT or MBR? Guides agree that UEFI computers use GPT and older legacy BIOS computers use MBR, and a mismatch will prevent the USB from booting. If you are not sure, most PCs made after about 2012 are UEFI, and Windows 11 expects UEFI with GPT.
Windows 11 extras. Rufus can optionally remove the requirements for TPM 2.0, Secure Boot and 4 GB+ RAM, or skip the online Microsoft account step. Use these only if you understand the risks of running Windows 11 on unsupported hardware.
Rufus can also download an ISO for you. In Windows Central’s Option B, you click the arrow next to Boot selection, choose Download, then pick the Windows version, edition and language.
Make a Windows Installation USB with Microsoft’s Media Creation Tool
This is the official way and the easiest for most people. Microsoft’s support page says the tool needs a PC with a reliable internet connection and a blank USB drive with at least 8 GB.
- Back up your files. Microsoft advises this before you install or reinstall Windows.
- Go to Microsoft’s Download Windows 11 page and, under “Create Windows 11 Installation Media,” select Download Now.
- Run MediaCreationTool.exe and accept the terms.
- Choose the language and edition. Windows Central notes you can clear “Use the recommended options for this PC” to change them.
- Select USB flash drive and click Next.
- Pick your drive from the list. If it is missing, use Refresh drive list.
- Click Next, then Finish. The tool downloads Windows and creates the bootable media.
When it is done, you can reset or reinstall Windows from the drive. Depending on the license, you may be asked for a 25-character product key, but digital licenses do not need one, and many PCs store the key in firmware.
Windows 10: Microsoft’s page notes that support for Windows 10 ended on October 14, 2025, and recommends moving to Windows 11. The same tool is also offered for Windows 10 on Microsoft’s download site.
No USB drive? The tool can create an ISO file instead, for use in virtual machines or to burn to a DVD.
Make a Bootable USB on Mac and Linux
Linux ISO (Ubuntu, Mint and others) with balenaEtcher
balenaEtcher is a free app for Windows, Mac and Linux. The steps are the same on each system (based on It’s FOSS and LinuxHint guides):
- Download your Linux ISO, for example Ubuntu.
- Install and open balenaEtcher. On a Mac you must be logged in as an administrator, according to a note in Ubuntu’s tutorial.
- Click Flash from file and choose the ISO.
- Click Select target and choose your USB drive.
- Click Flash and wait. Etcher also verifies the write, which can catch silent errors on cheap drives, as noted by ComputingForGeeks.
It’s FOSS reminds you that the USB will be formatted, so make sure there is nothing important on it.
macOS installer with Terminal
Apple’s official method uses the createinstallmedia command. According to Apple’s support page:
- Download the full macOS installer. It should be an app named something like “Install macOS Tahoe” in your Applications folder.
- Connect the flash drive (32 GB fits any installer) and rename it MyVolume.
- Open Terminal and paste the command for your macOS version. The pattern is:
sudo /Applications/Install\ macOS\ [Version\ Name].app/Contents/Resources/createinstallmedia --volume /Volumes/MyVolume
- Enter your admin password (nothing appears as you type), then type Y to confirm the erase.
- When Terminal says the install media is available, quit Terminal and eject the drive.
Apple lists a separate command for each macOS version, so copy the one that matches your installer from Apple’s page. Apple also notes you do not need a bootable installer just to upgrade or reinstall macOS, but it is useful if you want to install on several Macs.
Command-line caution: guides that use the dd command on Mac or Linux warn that it overwrites the entire target disk, and picking the wrong disk can erase your system. If you are not comfortable with that, use Etcher instead.
Make a Multi-ISO Bootable USB with Ventoy
Ventoy is a free, open-source tool that turns a USB drive into a multiboot drive. You install it once, then simply copy ISO files onto the drive, and Ventoy shows a boot menu so you can choose which one to start. There is no need to reformat each time.
Steps (based on Linuxiac and Ostechnix guides):
- Download Ventoy for Windows or Linux and extract it.
- Plug in your USB drive. Back it up first, because installing Ventoy formats it.
- Open Ventoy, select your drive from the Device list, and optionally choose options such as Secure Boot support and the partition style (MBR or GPT).
- Click Install and confirm.
- Open the drive in your file manager (it will show as Ventoy) and copy your ISO files onto it. Windows and Linux ISOs both work.
- Boot from the USB and pick an ISO from the menu.
Why people like it: it supports ISO files larger than 4 GB, works with both legacy BIOS and UEFI, supports Secure Boot, and lets you keep using the rest of the drive for normal files. To add another OS later, just copy a new ISO. Ventoy’s release notes mention that on some versions you may need to enroll a key the first time you boot with Secure Boot on.
How to Boot from the USB Drive
Once the drive is ready, restart the computer and open the boot menu.
- Plug the USB drive in and shut the computer down completely.
- Turn it on and tap the boot menu key repeatedly until a menu appears.
- Choose your USB drive (it may appear as “USB Storage Device” or by brand name). If there are two entries, the one marked UEFI is usually right for a UEFI install.
- Follow the installer.
Common boot menu keys (these vary by model, so check your manual if they do not work):
| Brand | Boot menu key | BIOS/UEFI setup key |
|---|---|---|
| Dell | F12 | F2 |
| HP | Esc, then F9 | Esc, then F10 |
| Lenovo ThinkPad | F12 (press Enter at the logo first on newer models) | F1 |
| Lenovo IdeaPad/Yoga | F12 or the Novo button | F2 |
| ASUS | Esc or F8 | F2 or Del |
| Acer | F12 (must be enabled in BIOS) | F2 or Del |
| MSI | F11 | Del |
(Source for keys: Wood Central’s boot key chart and cross-checked boot key lists.)
On a Mac, Apple says: for Apple silicon, shut down, connect the drive, press and hold the power button until startup options appear, pick the installer and click Continue. For Intel Macs, hold the Option key right after turning it on, then choose the installer. If a Mac with a T2 chip will not boot from the drive, check that Startup Security Utility allows external media.
Troubleshooting: When the USB Won’t Boot
- The USB does not appear in the boot menu. The most common cause is a UEFI/BIOS mismatch. UEFI systems need GPT and legacy BIOS systems need MBR. Recreate the drive with the right setting in Rufus.
- The boot key does nothing. Tap it repeatedly right after power on. On Acer, the F12 boot menu must be enabled in BIOS first. Some laptops need the Fn key held, and on some Lenovo models the Novo button works when the keyboard does not. Turning off Fast Boot can also help.
- Secure Boot blocks it. Some non-UEFI or non-signed media will only boot after you disable Secure Boot (and sometimes enable legacy support) in BIOS. Re-enable it after installing if your OS supports it.
- The drive was written incorrectly. Cheap drives can have bad sectors. Etcher’s verification pass or a different USB port or drive can help. Make sure the ISO is a complete, official download.
- A Mac will not boot the drive. On a T2 Mac, check Startup Security Utility. Apple also says the Mac needs an internet connection during installation to get model-specific firmware.
- Your computer runs the wrong drive first. Open the BIOS/UEFI setup and move the USB device above the hard drive in boot order, then save and exit.
FAQ
What size USB drive do I need? At least 8 GB for Windows, according to Microsoft. For macOS, Apple says 32 GB fits any installer, and 16 GB is enough for most earlier versions. A 4 GB drive is enough for a basic Ubuntu USB.
Will making a bootable USB erase my files? Yes. The drive is erased, so back up anything you need first.
What is the best tool for making a bootable USB? For Windows install media, Microsoft’s Media Creation Tool is the official one. Rufus gives more control. Etcher is the simplest for Linux, and Ventoy is best for several ISOs on one drive.
Can I use the USB for normal files afterward? On a Ventoy drive, yes. For a standard Windows or Linux installer drive, you would need to reformat it to use it normally again.
Can I make a bootable USB without an ISO? For Windows, the Media Creation Tool downloads the files for you. Rufus can also download a Windows ISO. For a Mac, you need the Install macOS app.
Should I choose GPT or MBR? GPT for UEFI systems (most PCs made after about 2012), MBR for older legacy BIOS systems. A mismatch will stop the USB from booting.
Can I make a bootable USB on a Mac for Windows? Rufus runs on Windows only, and the Media Creation Tool is a Windows program, so you will usually need a Windows PC for Windows installation media. On a Mac, Etcher and Terminal are the main tools.
Sources
Note: the official Rufus, Ventoy and Microsoft download sites were not reachable for me in this session. I read Microsoft’s and Apple’s support pages and the Windows Central guide through fetched summaries. For Rufus, Etcher and Ventoy I relied on third-party tutorials (search excerpts), so check each tool’s own site for the latest options. I did not run these steps myself.
- Create installation media for Windows, Microsoft Support
- Create a bootable installer for macOS, Apple Support
- How to download Windows 11 onto a USB flash drive (Media Creation Tool and Rufus), Windows Central
- Create a bootable Ubuntu USB on Mac, It’s FOSS
- Create bootable USB on macOS and Linux, ComputingForGeeks
- Ventoy: create a multiboot USB drive, Linuxiac
- How to create multiboot USB drives with Ventoy in Linux, Ostechnix
- Create a bootable USB with Rufus, FileWave knowledge base
- Common boot menu keys and BIOS/UEFI setup keys, Wood Central
Checked 9 November 2026.
About the Author

Aman Ullah Hridoy
Founder & Content Creator
I’m Aman Ullah Hridoy, the founder of Technolozia. I write about technology, software, gadgets and practical how-to guides to help readers understand tech and make smarter digital choices.